Switch up craft time by learning to paint North Pole style—using ice cubes! A new twist on traditional watercolor painting, frozen ice paint is a cool alternative inspired by the Scout Elves and their wintry home. Just freeze water and food coloring to create ice cube paint. Read on for full instructions.
You’ll Need:
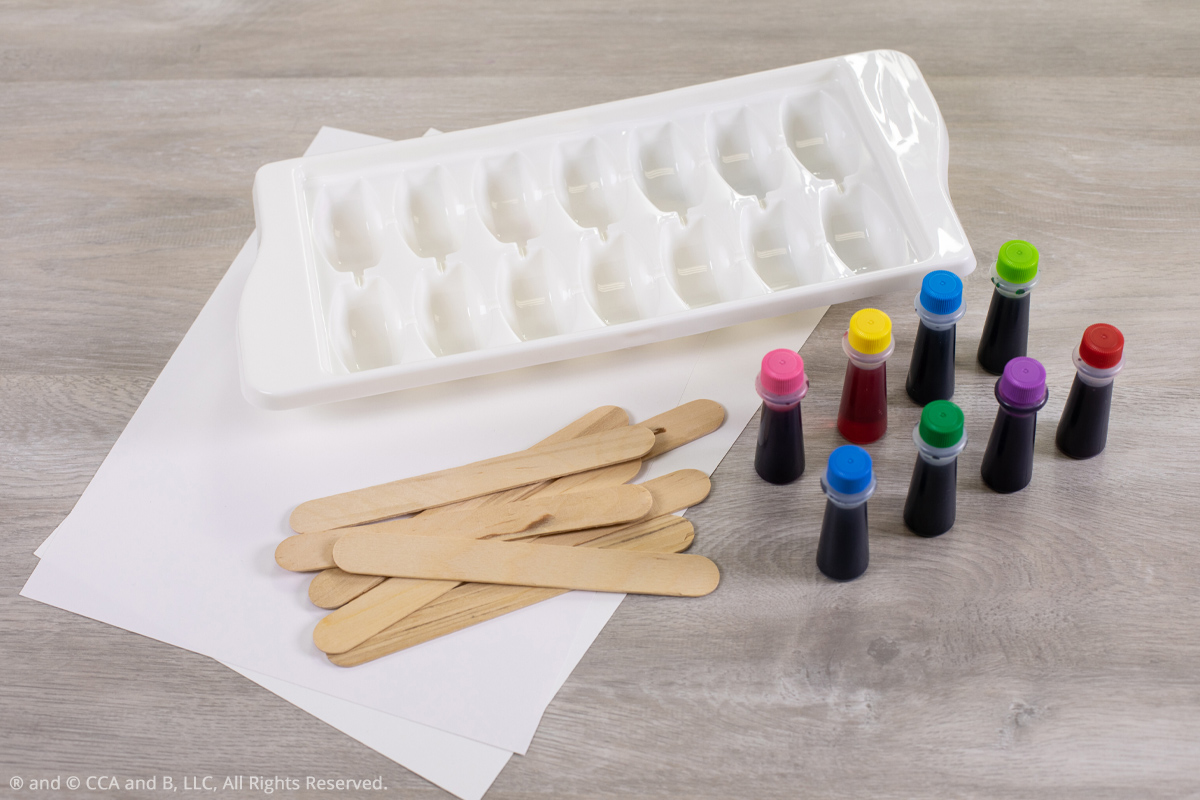
- Water
- Food coloring (Helpful hint: Use as many colors you’d like to paint.)
- Wooden craft sticks
- Ice cube tray
- Paper
- Freezer
Instructions:
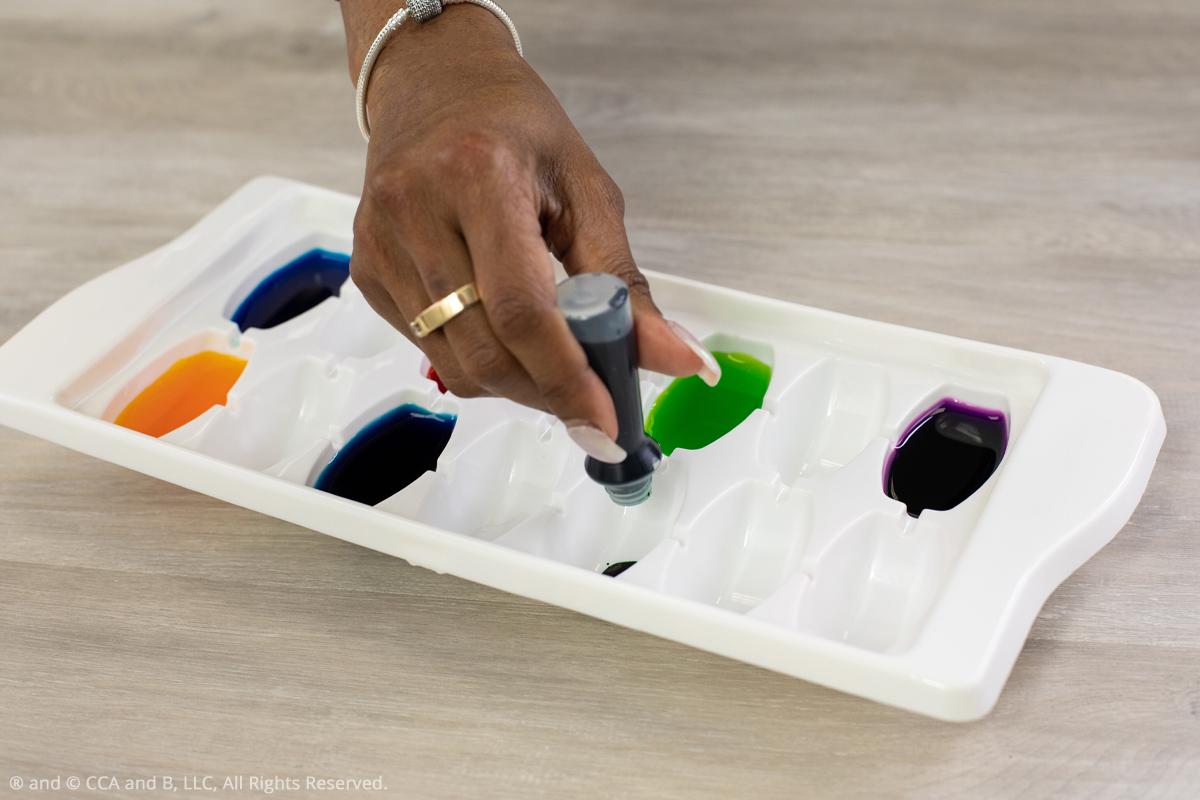
- Add a few drops of food coloring to each cube in the ice cube tray. Repeat with as many colors as you’d like to
paint with. (Helpful hint: The more food coloring you add, the brighter the colors will be.)
- Fill each cube with water.
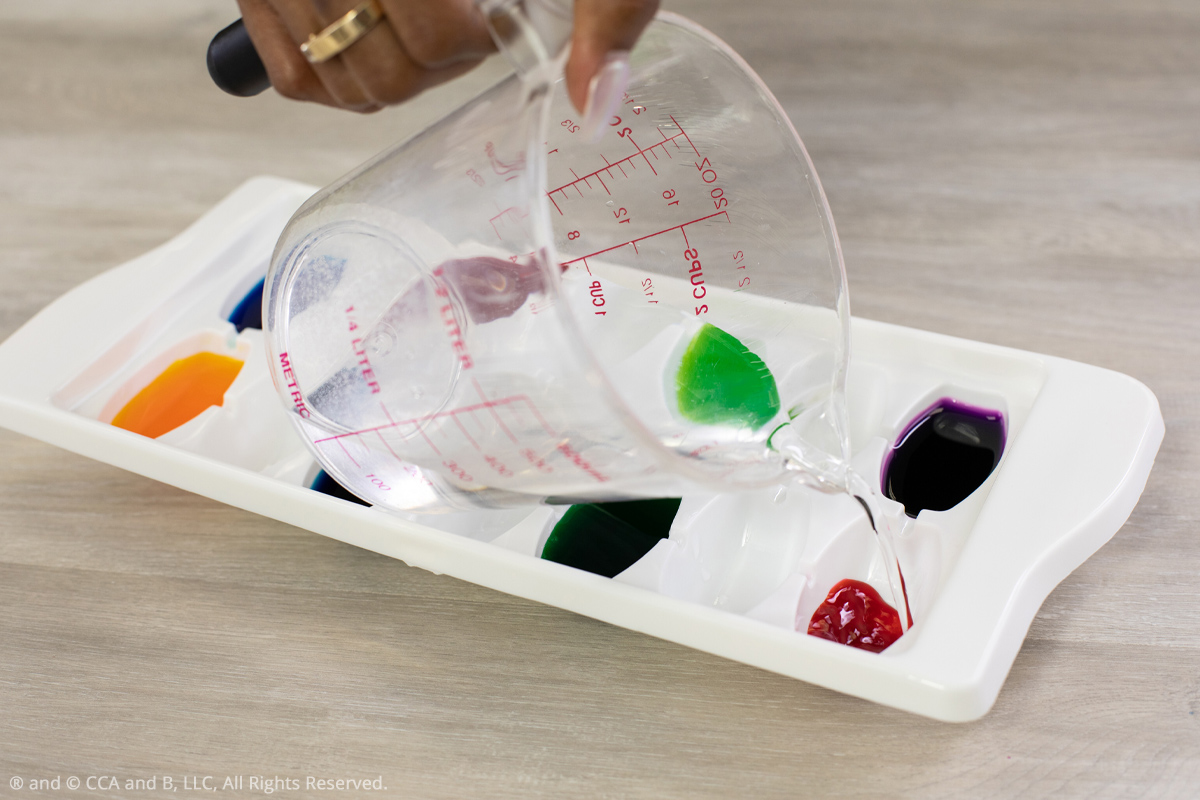
- Use a wooden craft stick to stir each cube, making sure the food coloring is fully mixed with the water.
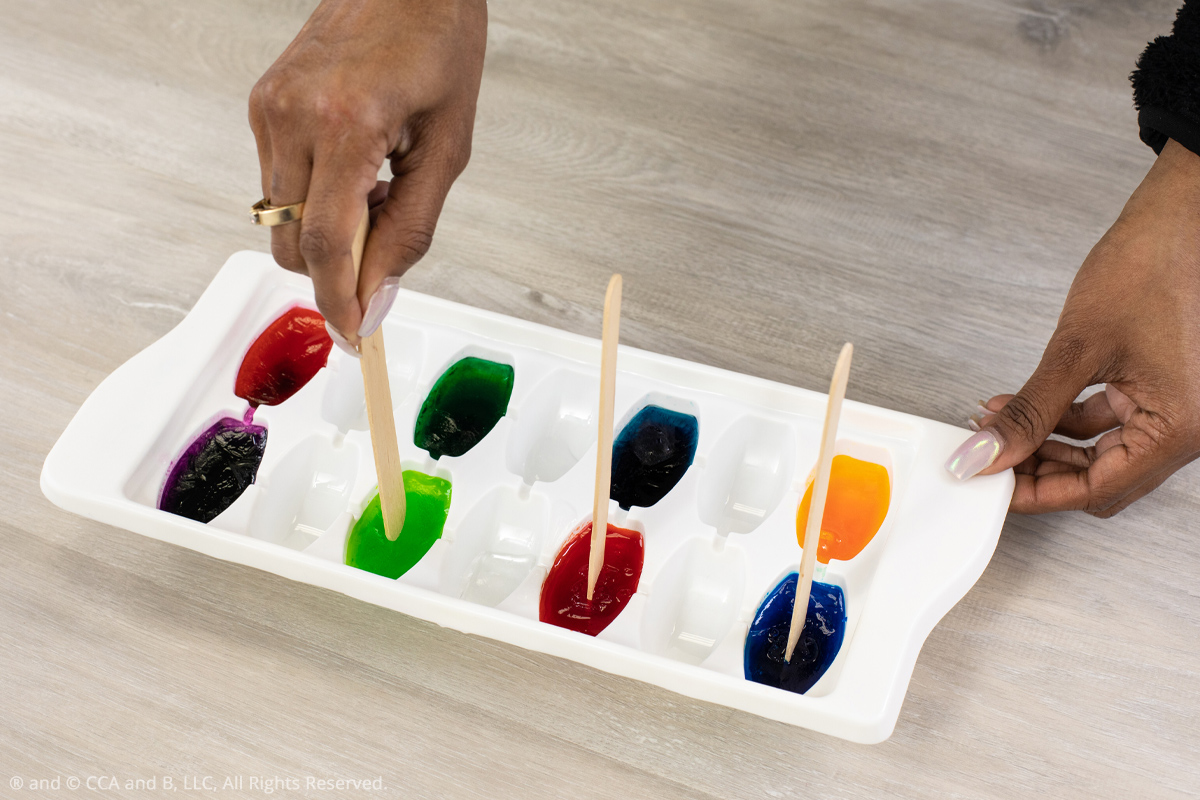
- Place the ice cube tray in the freezer for approximately 1 hour to allow the cubes to begin freezing.
- Once the cubes have begun freezing, add a wooden craft stick to each cube to create a handle.
- Allow the cubes to fully freeze 4-6 hours or overnight.
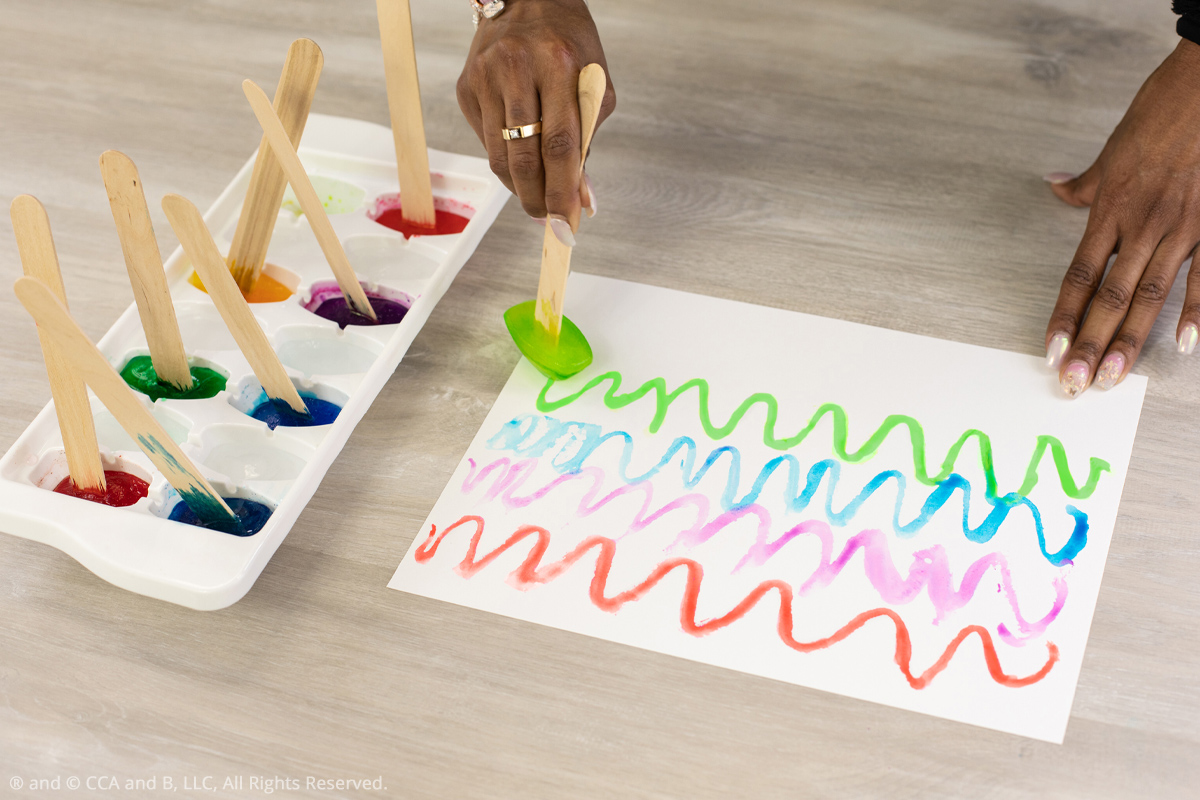
- Remove the ice cube tray from the freezer. After a few minutes, twist the tray slightly to loosen the ice cubes and pull on the handles to remove them.
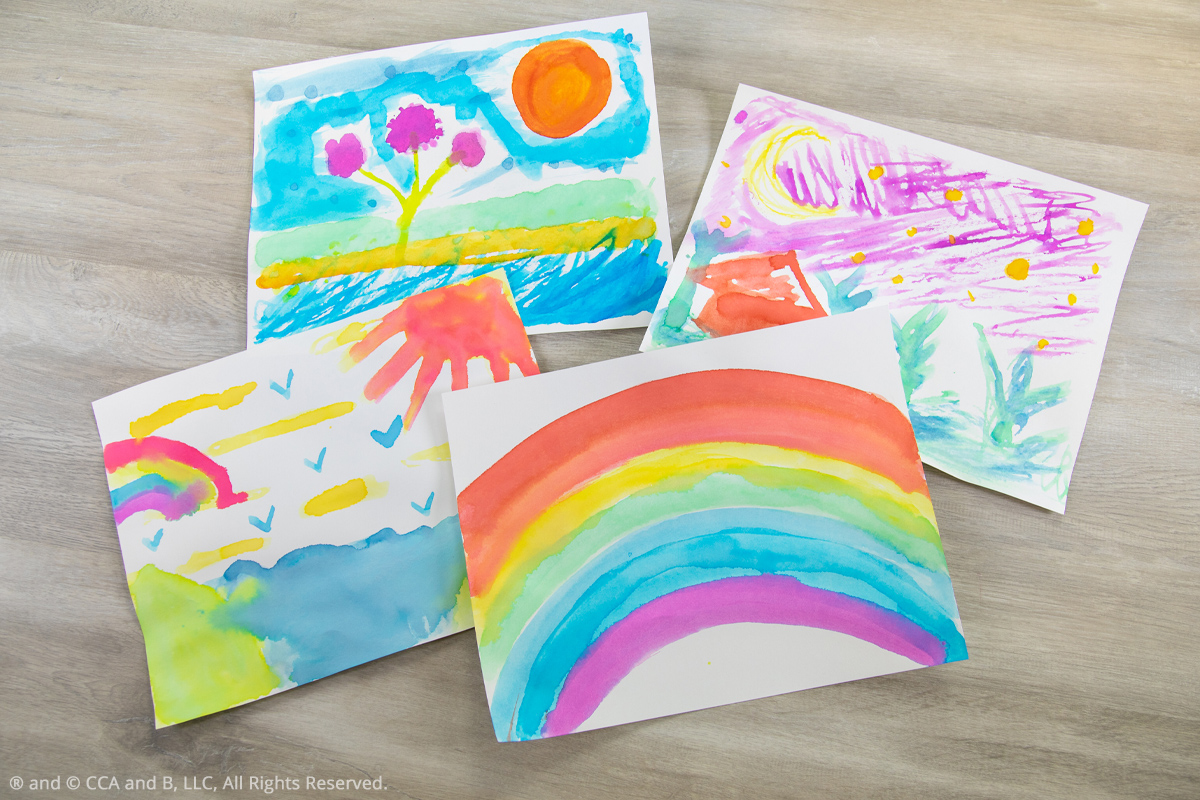
- Holding the wooden craft sticks, use the ice cubes to paint a variety of colorful designs and scenes.
Spend the afternoon painting beautiful pictures using ice cubes and find more family fun in the Craft Corner.
Please remember that when attempting the craft included in this post children should always be supervised by an adult. When using crafting supplies or products, always read manufacturer’s instructions and warnings.